Planning
After creating a playlist, the next step is to plan or schedule it for display on the screen via “Planning”.

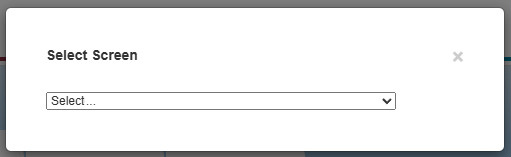
Click on “Open” in the “Planning” tab.
Then select the display for which the planning needs to be created or changed.
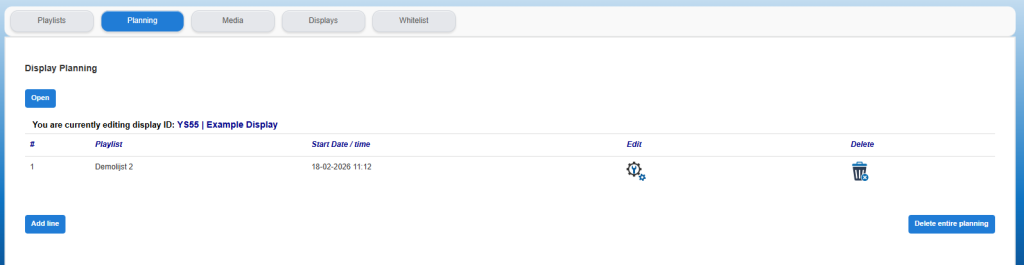
The planning for the selected display will open.
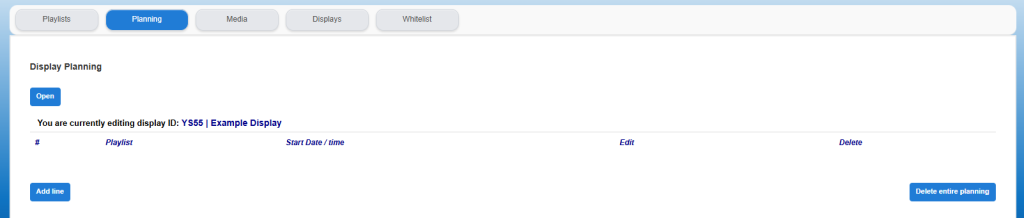
Check the name of the opened display before creating or adjusting the planning. This is particularly important if multiple displays are used.
When Setdisplay is used for the first time, the screen may be empty and therefore no planning is present (an initial planning may have already been activated when the display was delivered).
How the planning works:
The planning consists of one or more rules, these rules form so-called time blocks. Within the time block, it is indicated which playlist should be shown on the display at that moment (in that particular time block).
The display will always continue to play the last time block until a new time block starts or until the entire schedule is removed from the schedule.
Create a planning:
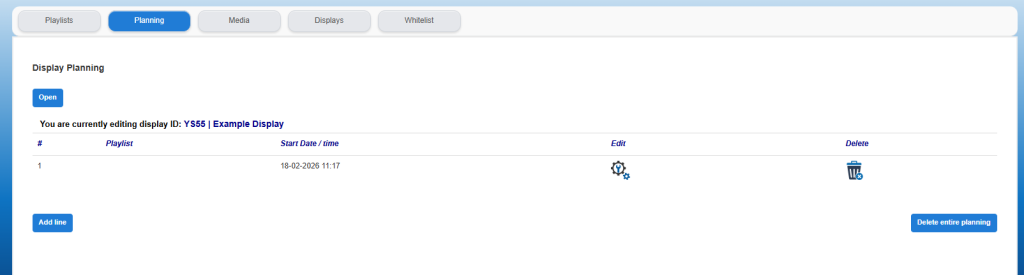
Start with “Add line”. A first line (# 1) will appear. As with the playlists, it is possible to edit this line by clicking on the relevant gear in this line.
A pop-up screen will open where you can choose which playlist should be displayed on this display.
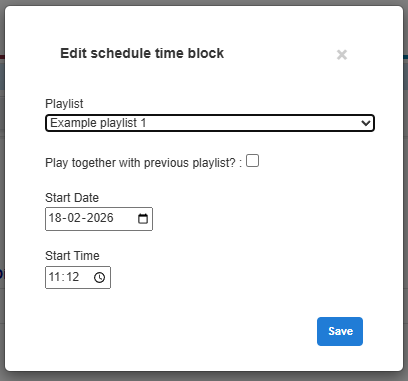
In the example above, “Example playlist 1” is selected. Then select the start date and start time at which the display should start to show the selected playlist.
Click “Save” and the main screen will be displayed again.
Plan a second playlist in new time slot
When multiple playlists have been created, it is possible to start them on a consecutive time slot, or to create a plan for multiple playlists. Add a next time slot by clicking on “Add line”. A second line will appear and this can be planned again with the playlist in question according to the procedure above.

In the example above, playlist 2 is chosen and that it should be shown starting on 19-06 from 16:00.
Click on “Save” and the main screen will be shown again.
PLEASE NOTE!
Please note that the last time slot will be displayed on the display until a new time slot is placed or until a time slot is in the future. If the above example contains a welcome text that may only be displayed until 18:00, for example, a third time slot (for the future) can be placed immediately, for example, playlist 01 is selected again, which can then start at 18:00 on 19-06.
Combine playlists in the same time
When multiple playlists have been created, it is possible to combine them or to have them play within the same time. This makes it possible, for example, to temporarily combine certain offers or promotions with the standard playlist and does not require a new playlist to be created. In order to combine this playlist or, better said, to have them play together, a new time block is created for each playlist that is planned at the same time as the previous playlist.
Add a next time block by clicking on “Add line”. If the selected playlist should be combined with the previous playlist, a check mark can be placed behind “Play together with previous playlist”; the same date and time as the previous playlist will then be automatically selected.
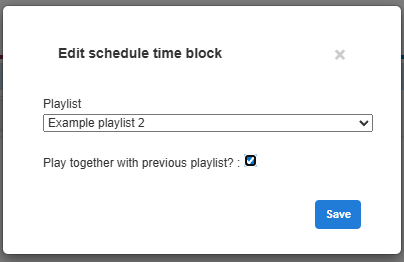
Click “Save” and the main screen will be displayed again.
Adjust/delete planning:
As indicated above, a planning can be created and modified via the gear symbol in the relevant planning line. The line can be deleted via the trash can symbol.
The planning can be deleted in its entirety using the button at the bottom right "Delete entire planning". An additional pop-up screen is displayed to confirm the deletion.
Please note! After permanent deletion, the planning can no longer be restored. Of course, a new planning can be created again.